
How to assemble a hard hat suspension
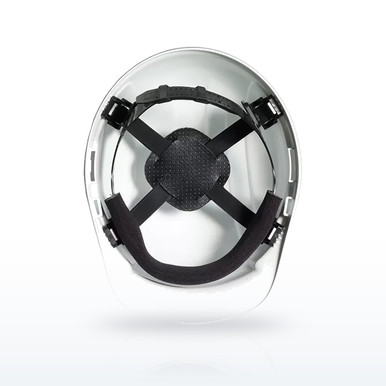
A hard hat suspension is the strap cradle inside the shell. It holds the shell off the skull so a blow to the top is spread and slowed before it reaches the head; a shell with no suspension, or one sitting on the head, is a plastic bowl. To assemble one: set the suspension in the shell with the brow pad at the front brim, push each of the 4 or 6 keys fully into its slot until it clicks, press the center of the cradle down to seat them all, then pull sharply on every strap to confirm it is locked. Set the height keys the same on both sides, put the hat on, and tighten the ratchet or pin-lock until the hat stays put when you nod or bend over. Nothing goes in the space between the straps and the shell.
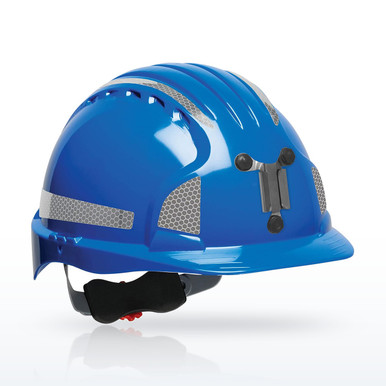
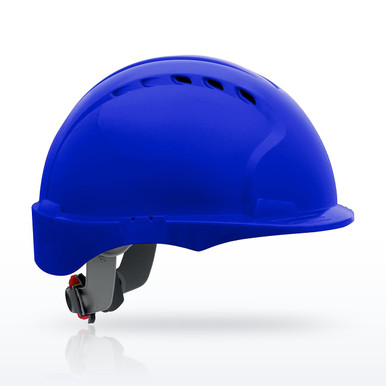
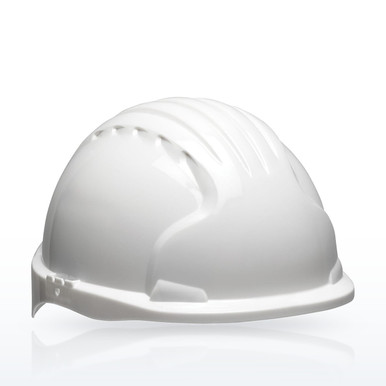 JSP Evolution 280-EV6151S Deluxe Short Brim Hard Hat, HDPE Shell6-point suspension with wheel ratchet
Why does the suspension matter more than the shell? The Z89.1 impact test drops an 8-pound mass onto the top of the helmet on a headform and measures the force that gets through to the head. The shell takes the hit and spreads it; the suspension straps stretch and the gap between the straps and the shell closes, and that is where most of the energy goes. A key that is not seated, a strap that is cut, or a radio or gloves stuffed into the crown takes away the gap, and the shell can bottom out on the skull in the first fraction of the blow. That is why every manufacturer’s instruction says to check the keys and keep the crown empty.
What are the parts of a suspension?
Names differ by maker; the parts are the same.
How do you assemble a hard hat suspension?
- Inspect first. Shell: no cracks, gouges, chalking or soft spots. Suspension: straps uncut and unfrayed, keys unbroken, headband and adjuster working. Replace any part that fails; never mix parts between makers or models.
- Orient the suspension. Brow pad toward the front brim. On a hat being set up for reverse wear (arrow symbol on the shell), brow pad toward the back.
- Set the height before installing. Most suspensions ship at the middle height. Turn each height key a quarter turn, move it to the high or low slot, and turn it back to lock. Both sides must be at the same height.
- Seat the keys. Hold a key at the base, fold it out and up if it is hinged, slide it into its slot and push until it clicks fully home. Repeat for each key. The webbing feels tight on the last one; that is normal.
- Press the cradle down. Push down on the center cross of the crown straps with a fist to seat every key at once.
- Pull check. Pull sharply on each strap. A key that lifts or pops is not seated. Redo it.
- Size it on your head. Ratchet: open it to the largest size, put the hat on, turn clockwise until snug, not tight. Pin-lock: slide the band through both buckles and set every pin in the nearest hole. The hat should not slip when you nod, bend over or shake your head.
- Check the crown. Nothing between the straps and the shell: no gloves, no phone, no stickers inside. The gap is the protection.
What is the difference between a 4-point and a 6-point suspension?
The number is how many straps run from the headband to the crown, and so how many points on the shell carry the load. A 6-point cradle spreads a blow over more of the shell and more of the head, and it holds the shell steadier when the wearer looks up or down. Both must pass the same Z89.1 impact test for the Type marked on the hat, so a 4-point hat that is marked Type I has met the Type I requirement. The choice is comfort and stability, and some sites specify 6-point in their safety plan. The suspension is part of the certified helmet: Z89.1 puts the burden on whoever supplies a replacement or accessory to show it will not cause the helmet to fail, which is why makers say to use only their own replacement suspensions for their own shells.
ANSI/ISEA Z89.1-2014 section 5 (accessories and replacement components), as summarized by MSA; 3M user instructions (use only 3M replacement parts); manufacturer spec sheets for the hats listed below.When should the suspension be replaced?
- After any impact to the hat, with the shell, even if nothing looks wrong.
- When a strap is cut, frayed, stiff or stretched, a key is cracked, or the adjuster will not hold a setting.
- On the maker’s interval regardless of appearance: 3M says at least every 12 months. Other makers give a similar figure; the instruction for your model governs.
- When sweat and dirt have hardened the brow pad or straps. The suspension can be washed in mild detergent and warm water (PIP: about 140°F) and reinstalled; no solvents.
- Replacement suspensions must be the maker’s part for that shell. A suspension from another brand will not have keys that fit the slots, and an ill-fitting one voids the rating.
Can you install the suspension backward for reverse wear?
Only on a hat marked with the reverse donning arrow. On those, the suspension goes in with the brow pad toward the back brim, so the headband still sits forehead-first and the ratchet sits over the forehead under the short brim. Turning only the shell around on a forward-facing suspension is not reverse donning and the hat has not been tested that way. OSHA’s position since 1992 is that a hat worn backward complies only when the manufacturer certifies it; the Z89.1 reverse-donning test, added in the 2009 edition, is how makers do that.
3M H-700/H-800 user instructions (only hats marked with the reverse donning arrow; brow pad toward the back); OSHA letters of interpretation, July 22, 1992 and April 17, 2002; ANSI/ISEA Z89.1-2009 reverse-wear test as announced by ISEA.Hard hats by suspension and adjustment
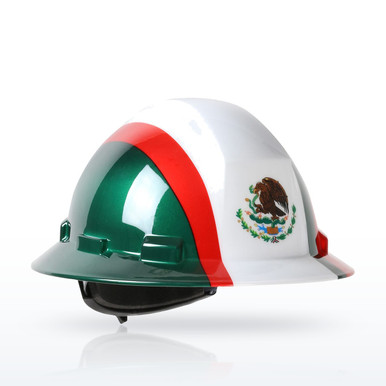
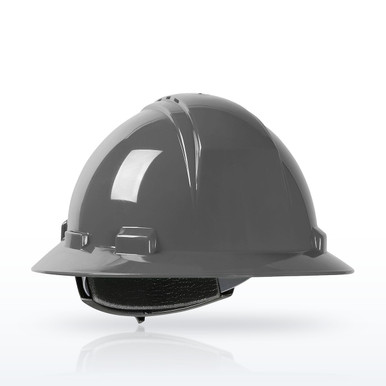
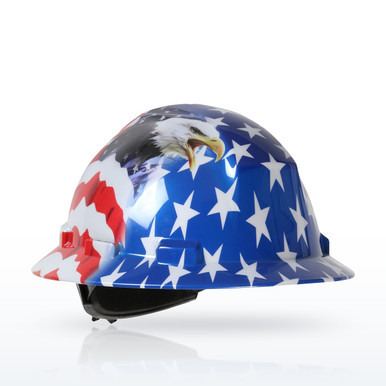
23 items · prices liveSuspension points and adjuster type are as published by the manufacturer for each model. Replacement suspensions for a given shell are listed on that hat’s product page. Free shipping on orders over $199.
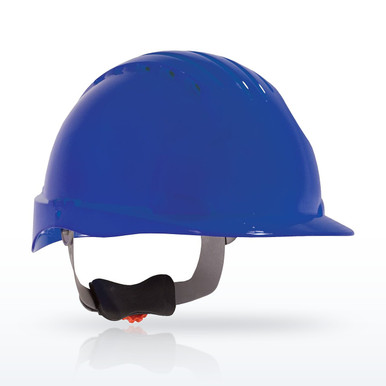
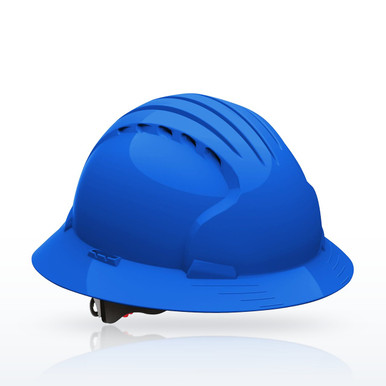
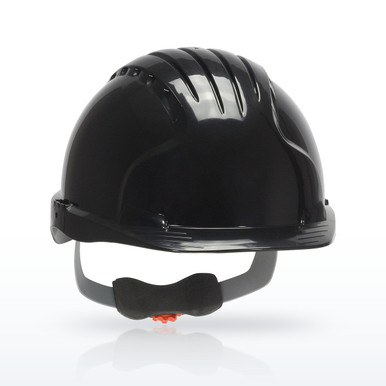
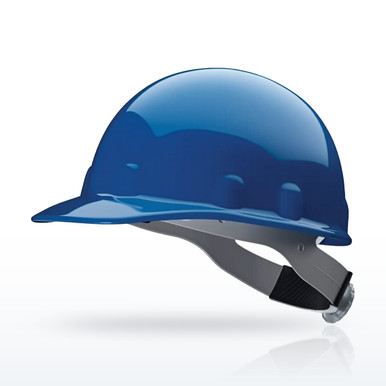
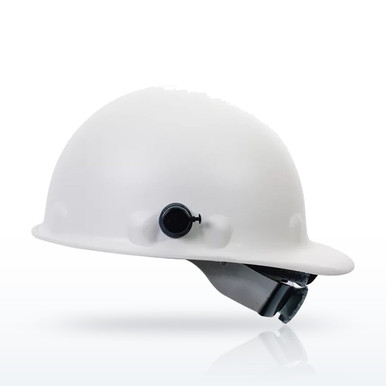
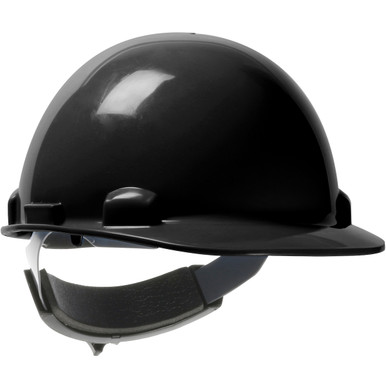
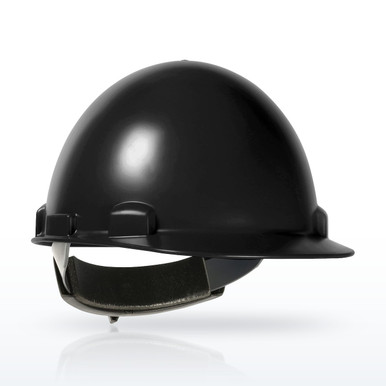
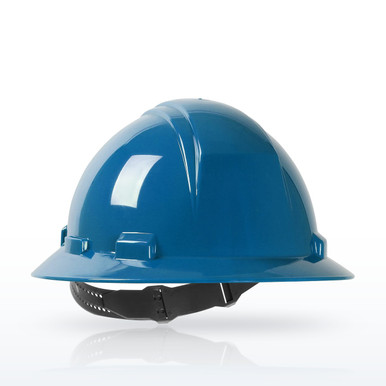
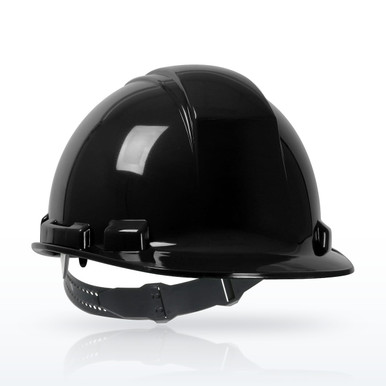
Every hard hat we carry, filtered by suspension points and adjuster, is on the hard hat finder.
Questions people ask
Which way does the hard hat suspension go in?
Brow pad (the sweatband) toward the front brim, ratchet at the back. Only on a hat marked with the reverse donning arrow does it go in the other way, for wearing the hat backward.
How do you know the keys are seated?
Each one clicks fully into its slot, the cradle feels tight, and a sharp pull on every strap moves nothing. Press down on the center of the cradle to seat them all.
How tight should a hard hat be?
Snug enough that it stays on when you nod, bend over or shake your head, and no tighter. Overtightening a ratchet causes headaches and does not add protection.
Can you put a 6-point suspension in a 4-point shell?
Only if the manufacturer makes that suspension for that shell. Slots differ between models and the suspension is part of the certified helmet.
Can you store gloves in the top of a hard hat?
No. The space between the straps and the shell is what absorbs the impact. Manufacturers prohibit storing anything there.
How often should a hard hat suspension be replaced?
At least every 12 months on most makers’ instructions, and immediately after an impact or when any strap, key or adjuster is damaged.
Does a 4-point suspension meet ANSI?
The whole hat is certified, not the strap count. A hat marked Type I or Type II has passed that test with the suspension it ships with, whether 4-point or 6-point.
Standards and ratings on this page are as published in the documents named and by the manufacturers named. The employer’s hazard assessment and written program decide what applies at a given workplace. Verify a rating on the product and its spec sheet before use.